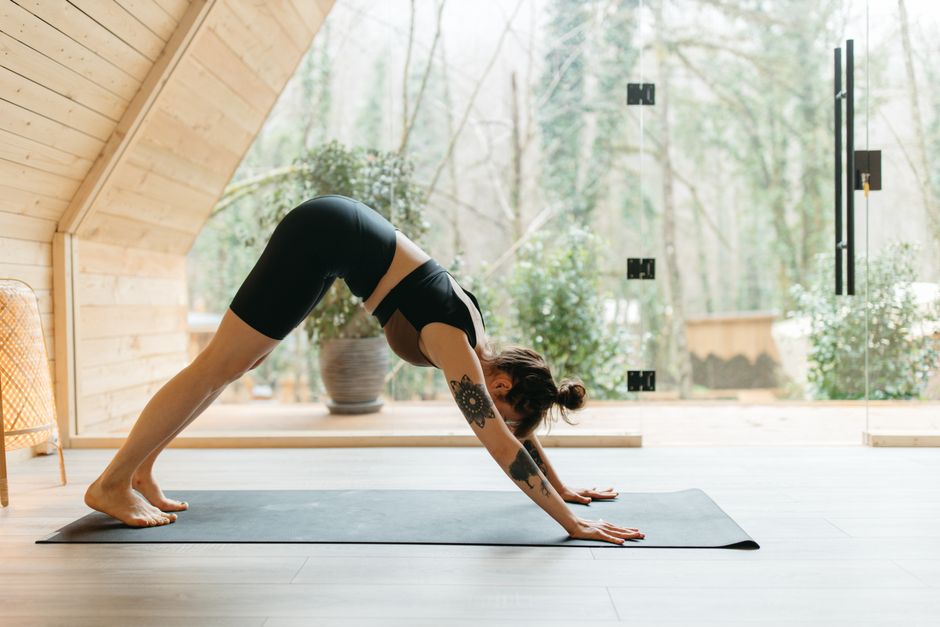
Downward Facing Dog, or Adho Mukha Svanasana, is one of the most widely recognized poses in yoga practice. It appears in many sequences as a transitional or resting posture, yet its alignment can be surprisingly nuanced. When attention is given to the placement of the hands, the length of the spine, and the grounding of the heels, the pose can offer a sense of stability and openness. Without such attention, it is easy to develop habits that limit the benefits or create unnecessary strain.
This article explores key alignment cues that can help refine the pose. The focus is on understanding how different parts of the body interact within the shape of Downward Facing Dog. Each cue is presented as a point of inquiry rather than a rigid instruction. The goal is to support a more informed and adaptable approach to this foundational posture.
Whether you are new to yoga or have been practicing for years, revisiting the fundamentals can deepen your experience. The following sections break down hand and arm placement, spinal lengthening, heel grounding, and common mistakes, along with suggestions for working with breath and awareness.
Understanding the Foundation: Hand and Arm Placement
The hands form the base of the pose. Spreading the fingers wide and pressing evenly through the entire hand creates a stable connection. Particular attention can be given to the index finger and thumb, which often lift away from the mat. When the base of the index finger stays grounded, it can help distribute weight more evenly across the wrists and shoulders.
Shoulder width is a useful starting point for hand distance, though individual anatomy may require slight adjustments. A common approach is to place the hands slightly wider than shoulder width and then experiment with shifting the weight. Rotating the upper arms externally—by turning the inner elbows to face one another—can create more space in the neck and shoulders. This action, combined with engaging the triceps to keep the arms straight without locking the elbows, supports a more balanced distribution of effort.
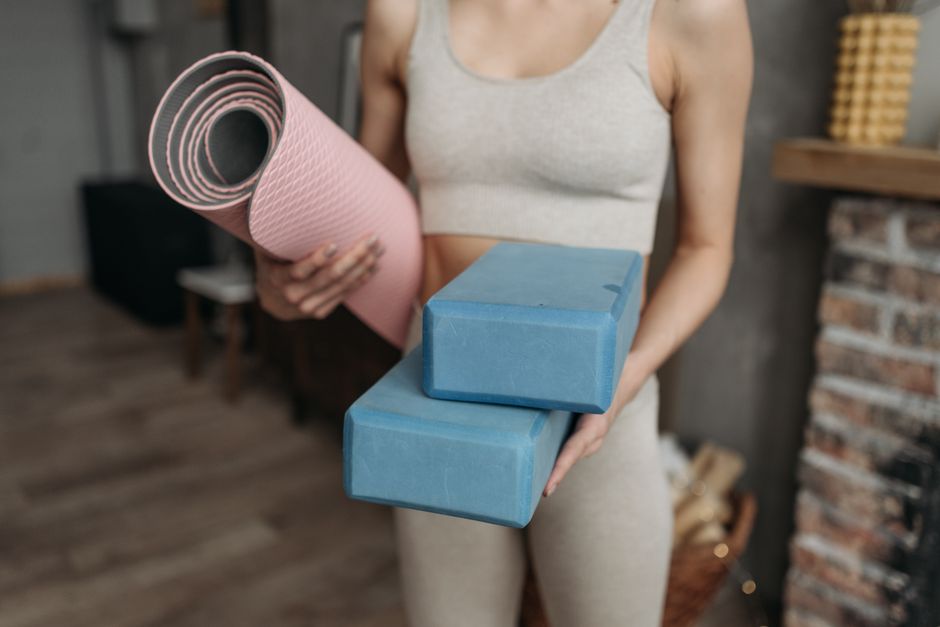
The wrists should remain in a neutral position relative to the hands. If there is any feeling of compression or sharpness in the wrists, it may be helpful to modify the angle of the hands or to use a wedge under the palms. The alignment of the arms directly influences the ability to lengthen the spine, so taking time to establish the hands and arms can make a noticeable difference in the overall feel of the pose.
Lengthening the Spine
Once the hands and arms are positioned, the next step involves creating length along the spine. Lifting the hips upward and backward, while keeping the legs active, is a common cue. However, the quality of that lift depends on how the pelvis and ribcage are oriented. Rather than focusing solely on raising the hips, it can be more effective to think of drawing the sitting bones away from the wrists. This action encourages the spine to elongate without collapsing into the lower back.
Engaging the abdominal muscles lightly can support the lower back and prevent excessive arching. At the same time, the shoulder blades can be drawn toward the hips, which helps widen the space between the ears and the shoulders. Many practitioners find it helpful to bend the knees slightly in order to release the lower back and then gradually straighten the legs as the hamstrings allow. This approach respects individual flexibility and reduces the urge to force a straight line.
The head should hang in a neutral position, with the gaze directed between the legs or slightly toward the navel. Tucking the chin or lifting the head too high can create tension in the cervical spine. Allowing the neck to relax, while maintaining the active engagement of the arms and core, contributes to a more unified sense of length from the wrists to the hips.
Grounding the Heels
Heel grounding is often emphasized, but it is important to recognize that not everyone will be able to touch the heels to the mat. The primary goal is to create a directional energy through the legs, not to force the heels down. When the hamstrings and calves are tight, lifting the hips and bending the knees can help bring the heels closer to the floor over time. Pressing the heels back and down, even if they do not make contact, activates the muscles of the legs and deepens the stretch.
The feet should be hip-width apart, with the toes pointing forward. Rolling onto the outer edges of the feet is a common compensation that can be addressed by pressing the big toe mound into the mat. This action helps align the knee and ankle joints. As the legs engage, the quadriceps can be lifted to prevent hyperextension of the knees. A slight micro-bend in the knees is perfectly acceptable and often advisable.
For those with very tight hamstrings, it can be helpful to keep the knees bent throughout the pose. This reduces strain on the lower back and allows the spine to remain long. Over time, as flexibility increases, the heels may lower naturally. The process of grounding the heels is less about achieving a physical result and more about cultivating a consistent, active effort through the legs.
Common Alignment Mistakes and How to Address Them
One frequent mistake is allowing the back to round excessively. This often happens when the hamstrings are tight or when the core is disengaged. Instead of pushing the chest toward the thighs, it can be more effective to lift the sitting bones and press the front of the thighs back. This counteracts the rounding and redistributes length along the entire spine.
Another common issue is collapsing into the shoulders, which can occur when the arms are not actively engaged. In this situation, the shoulder blades move toward the ears and the neck becomes compressed. Creating a slight external rotation of the upper arms and pressing the floor away from the body can restore space. Visualizing the armpits drawing toward the waist is another cue that may help.
Locking the knees and forcing the heels down is a third mistake. This can lead to hyperextension and a loss of leg engagement. Keeping a micro-bend in the knees and focusing on pressing the heels back rather than down helps protect the joints. Additionally, widening the stance of the feet very wide can destabilize the pose. Maintaining hip-width distance provides a more balanced base.
Finally, holding the breath or breathing shallowly is a common oversight. The pose is meant to be held for several breaths, and any tension in the body can be subtly released with each exhale. Awareness of the breath can transform the pose from a static shape into a dynamic, restorative experience.
Integrating Breath and Awareness
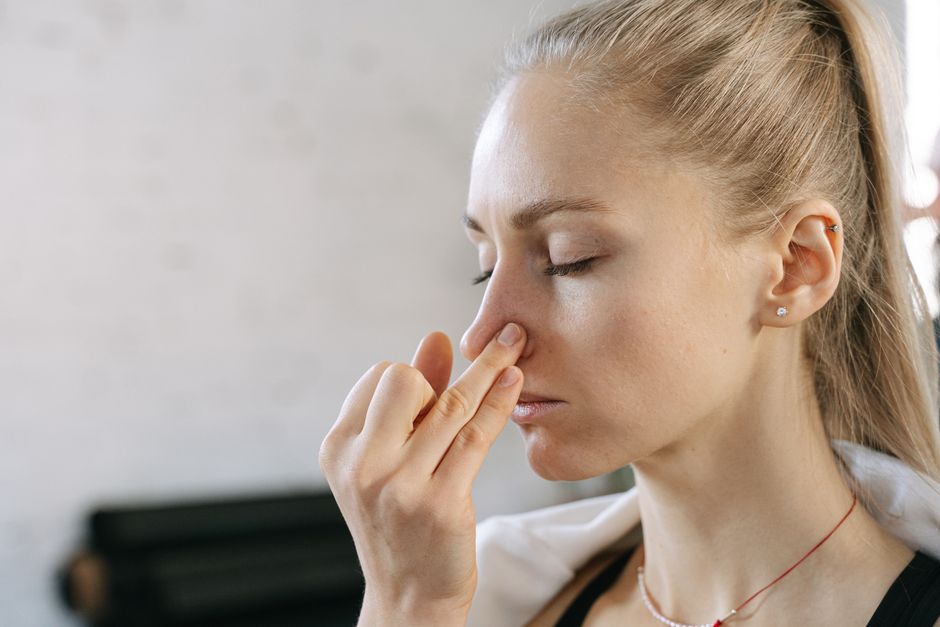
Breath serves as a natural guide in Downward Facing Dog. Inhaling can support an expansion of the ribcage and a sense of lifting, while exhaling can encourage a deeper release of the heels and a relaxation of the neck. Observing how the breath moves through the body provides feedback about where tension remains. For instance, if the inhalations feel shallow, it may indicate that the arms or shoulders are holding more effort than necessary.
Using a drishti, or soft gaze point, can also help focus the mind. Directing the gaze toward the navel or between the legs keeps the head in alignment and reduces visual distractions. The combination of steady breathing and a fixed gaze creates a meditative quality that supports longer holds in the pose.
At Yoga Pulse, we encourage practitioners to approach Downward Facing Dog as a pose that is both grounding and energizing. The alignment cues discussed here are not absolute rules but invitations to explore. Each person’s body has unique proportions and limitations, and the most effective alignment is one that feels sustainable and pain-free. By paying attention to the hands, spine, and heels, and by integrating breath and awareness, it becomes possible to refine the pose over time without force or expectation.
Regular practice with mindful alignment may lead to greater ease in Downward Facing Dog and to a deeper understanding of how the body moves through other postures. As with any aspect of yoga, consistency and patience are more valuable than striving for an idealized version of the pose.